
Skinmaker FAQ
Tutorial copied with the friendly permission from Identity Crisis .
Question...
I've been skinning using PSP6 & UT SkinMaker. To create different skins for a specific model, how do I go about attaching the various PSP images to the various locations on the models (ie: different heads, chests, backs, etc)?
- In skinmaker 2.4, go to "File" in the top left of the Skinmaker screen.
- Click on new project.
- Then select which model you wish to "Skin".
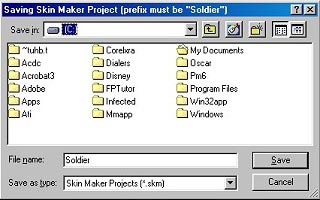
- OK, now this is the part when you may want to start saving your work, give the skin any name you wish, just prefix it with the name of the model you are skinning.
Example - I'm skinning the "Soldier" here, so that is the prefix, my skin is called "Dredd", so in the "Save project box" I would get it to show up as "Soldierdredd".
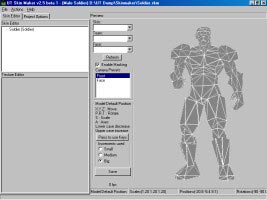
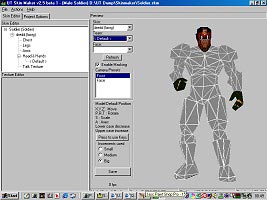
- You will now notice on the main 3D view section a model of the soldier, unskinned though.
- On the top left of the skinmaker program you will now see this.
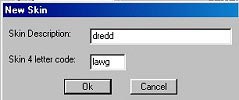
- By right clicking on "Soldier" you will get a prompt that says "New Skin".
- This is where you shall name it.
"Skin Description" = An easy name for the skin for you to remember.
"Skin 4 letter code" = UT works with textures that are four letter based, name this to what ever you wish.
Example - My skin is based on the cartoon character "Judge Dredd", so I have simply called it "dredd", the code, I opted for my alias name and shortened it down to "lawg".
- This is the next screen that you will come up against.
It describes all the part of the textures needed to skin your choosen model.
- I have already created my texture for the "Head & hands", so right click on that texture that you wish to edit and then select "Add texture".
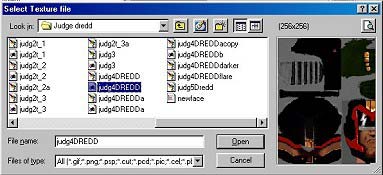
- This is where you hit the browse fuction of the program, use it just as you would "Explorer" and select the texture that you wish to use.
- Select your choosen texture...
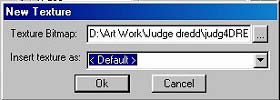
- Then just "OK" it as the default.
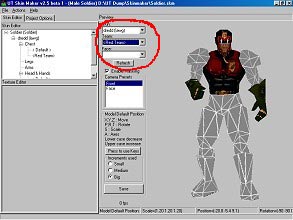
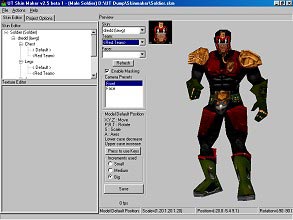
- This now is how the top left of Skinmaker should now look.
- With your selected model now showing the texture that you created for it.
- OK, I have carried on with this and added a "Default" chest, and now I am going to give it a team colour as well.
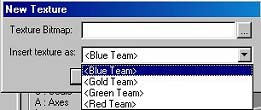
First of, select the texture that you wish to add team colour to exactly the same way as above (make sure that you do not select "Default").
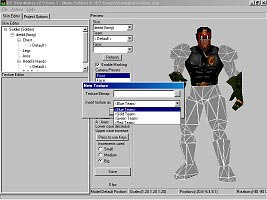
- Now, this time round before you start to browse for the team colour texture, select the Team colour as like below.
- This is now what the left top hand side should look like.
- In the center of the program, you should see a fuction that looks like this...
- Obviously this is where you can swap and view default your skin and team colours.
- Adding a HUD/Talk texture works exactly the same way as mentioned above, just make sure that your texture is 64X64 in size, thats all
- Finally, I have got my default textures on the model, team colours and HUD are on display as well.
- "Saving your skin"
Easy, just go to "File/Save project as" on the top left side, and then follow everything as descibed in section 4 again.
Now, when ever you wish, you can come back and view/edit the skin as many times as you wish.